Free IoT SSH On Windows 10: Remote Access Guide
Ever feel the pinch of pricey remote access solutions for your Internet of Things (IoT) devices? With a few simple steps, you can harness the power of free and secure SSH connections on Windows 10, unlocking a world of remote management possibilities without spending a single penny.
The realm of IoT is rapidly expanding, permeating everything from our homes to complex industrial systems. The ability to remotely manage and interact with these devices is crucial, whether you're a tech enthusiast managing a smart home setup, or an IT professional overseeing a network of industrial IoT devices. This guide provides a comprehensive walkthrough, empowering you to establish secure SSH connections to your IoT devices from anywhere, all while leveraging the capabilities of Windows 10's command line interface. By the end of this article, you'll have a solid understanding of how to establish these secure connections, the tools you will need and the process of establishing remote SSH access without comprising your device's security. It's a practical, cost-effective way to gain control and streamline your IoT projects.
The key to successful remote access lies in understanding the fundamentals. Let's delve into the core concepts and requirements necessary for setting up free IoT SSH on Windows 10.
| Feature | Details |
|---|---|
| Purpose | Enabling secure, remote access to your IoT devices for management and control. |
| Cost | Free of charge, utilizing open-source tools and the Windows 10 operating system. |
| Security | Employs SSH (Secure Shell) protocol to encrypt communication and protect against unauthorized access. |
| Requirements | A Windows 10 PC, an SSH client, an IoT device with SSH server enabled, and an active internet connection. |
| Benefits | Remote device control, data access, troubleshooting, and the ability to manage devices from anywhere in the world. |
| Target Audience | Hobbyists, IT professionals, and anyone needing to manage IoT devices remotely. |
The Windows 10 command line is a powerful, often overlooked tool for managing network connections, including SSH. It provides a direct way to interact with your IoT devices, offering the same functionality as graphical interfaces but with the added benefit of scripting and automation. This guide is designed to guide you step-by-step, making the process straightforward for both beginners and experienced users.
One particularly powerful tool in this realm is the Secure Shell (SSH), a network protocol that offers secure remote access over an insecure network. SSH provides an encrypted channel for communication, ensuring that your data and commands are protected from eavesdropping and tampering. This is critical when dealing with IoT devices, as they often handle sensitive data and are deployed in environments where security is paramount.
To kickstart this process, your first step is to ensure that the SSH client is enabled on your Windows 10 machine. Most modern Windows 10 installations come with an OpenSSH client pre-installed. However, if it isn't enabled, here's how to activate it:
- Check for OpenSSH Client: Open the "Settings" app (search for it in the Start menu).
- Navigate to Optional Features: Go to "Apps" -> "Apps & features" -> "Optional features".
- Look for OpenSSH Client: Scroll through the list. If "OpenSSH Client" is present, it's already installed. If not, proceed to the next step.
- Install OpenSSH Client (if needed): Click "Add a feature." Type "OpenSSH Client" in the search box, select it, and click "Install".
With the client ready, the next task is to ensure that your IoT device is configured correctly. This typically involves:
- Enabling SSH Server: This step depends on the specific IoT device and its operating system. Consult the device's documentation for instructions on how to enable the SSH server. This typically involves accessing the device's settings or configuration panel and enabling the SSH service.
- Setting up User Accounts: Create a user account on your IoT device with a strong password or, preferably, set up SSH key-based authentication (which is more secure).
- Firewall Configuration: Ensure that your firewall (on both the Windows 10 machine and the IoT device) allows SSH connections on port 22 (the default port).
Once the OpenSSH client is running on your Windows 10 machine and the SSH server is enabled and accessible on your IoT device, the next phase involves connecting them.
Connecting to your IoT device using the command line:
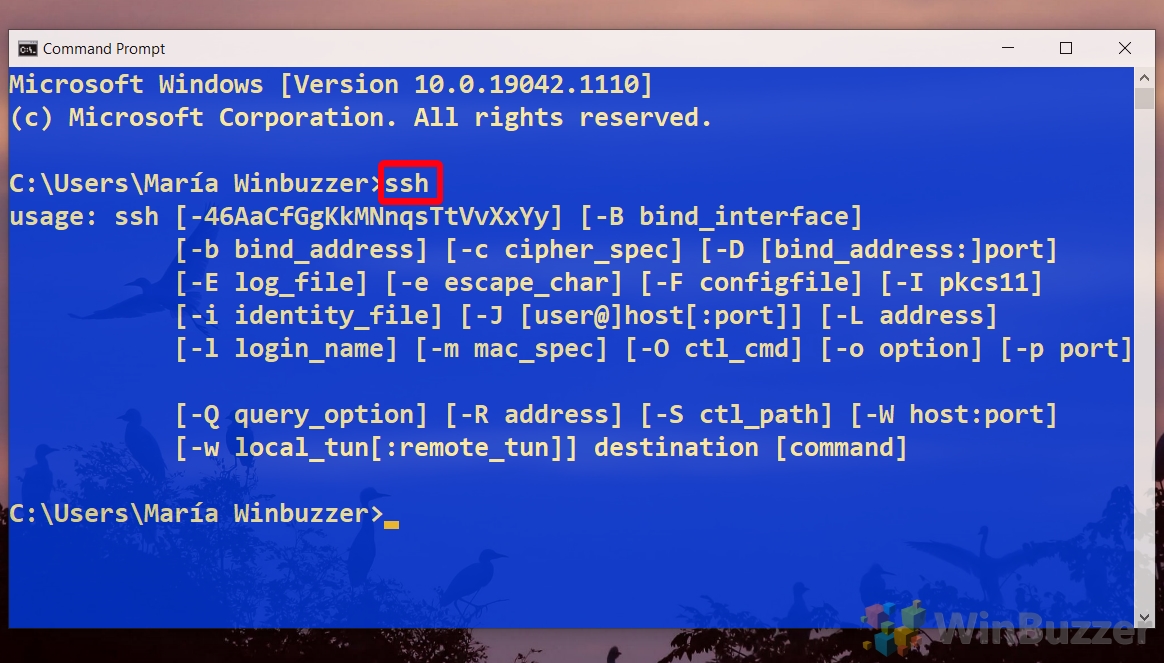
- Open Command Prompt: Press the Win + R keys, type "cmd", and press Enter.
- Type the SSH Command: The basic command format is:
ssh username@hostname- Replace "username" with the username you created on your IoT device.
- Replace "hostname" with the IP address or the domain name of your IoT device. If you are on the same local network, you will use the local IP address (e.g., 192.168.1.100).
- If you want to connect from outside your local network, you'll need to configure port forwarding on your router (more on this later). In this scenario, you would use your public IP address or a dynamic DNS name (if you have one).
- Authentication: If you're using password authentication, you'll be prompted to enter your password. If you have set up key-based authentication, the connection will happen automatically (after you've copied the public key to the IoT device).
- Successful Connection: Once authenticated, you should see the command prompt of your IoT device. You are now ready to execute commands on the device remotely.
Example: If your username is "user" and your IoT device's IP address is 192.168.1.100, the command would be: ssh user@192.168.1.100
SSH Key-Based Authentication: Key-based authentication is highly recommended over password authentication because it is more secure. Here's how to set it up:
- Generate SSH Keys: On your Windows 10 machine, open the command prompt and type:
ssh-keygen. Follow the prompts to create a public and private key pair. You can usually accept the default settings, and it's recommended to set a passphrase for added security. - Copy the Public Key: You will find the public key (usually with a .pub extension) in the .ssh folder within your user profile (e.g., C:\Users\YourUsername\.ssh\id_rsa.pub). You'll need to copy the contents of this file.
- Append the Public Key to authorized_keys on the IoT Device:
- Connect to your IoT device using a method you have access to, such as a serial console.
- Create or edit the file:
~/.ssh/authorized_keys. If the .ssh directory doesn't exist, create it:mkdir ~/.ssh. Set the right permissions:chmod 700 ~/.ssh - Paste the contents of your public key (from id_rsa.pub) into this file on a single line. Each key should be on its own line.
- Set the correct permissions:
chmod 600 ~/.ssh/authorized_keys
- Test the Connection: Now, try to connect to your IoT device using the command
ssh username@hostname. If everything is set up correctly, you should be able to connect without being prompted for a password (assuming you entered your passphrase if you created one)
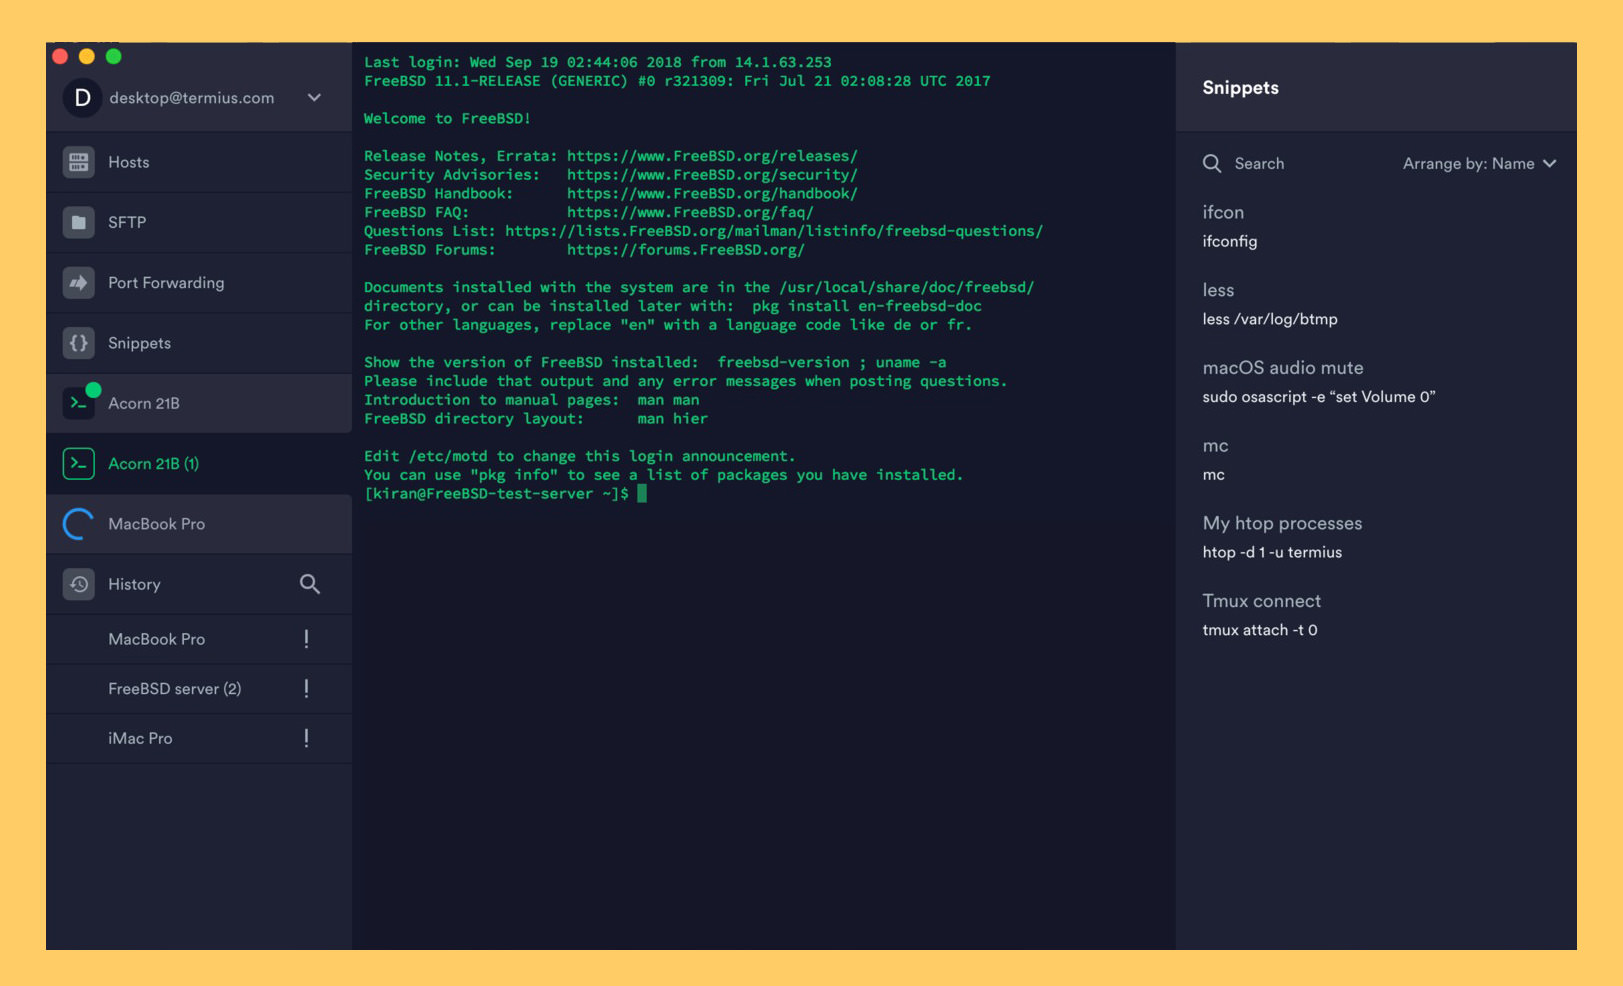
Once connected, you can use your own ssh client, such as PuTTY, to connect to your remote Linux device's SSH shell. In order to manage your devices from anywhere in the world, youll need to take additional steps. This typically involves either port forwarding on your router or using a reverse SSH tunnel.
Configuring Port Forwarding:
- Access Your Router: Open a web browser and enter your router's IP address (usually 192.168.1.1 or 192.168.0.1). You may need to consult your router's documentation if you don't know its IP address or how to log in.
- Log In: Enter your router's username and password.
- Find Port Forwarding Settings: Look for a section labeled "Port Forwarding," "Virtual Servers," or similar. The exact location varies depending on the router's make and model.
- Create a New Rule:
- Service Name: (Give it a name, such as "SSH")
- Port Range: 22 (for both Internal and External ports, unless you are changing the port number).
- Protocol: TCP
- Internal IP Address: The local IP address of your IoT device.
- Enable the Rule: Make sure the rule is enabled.
- Save the Settings: Save your changes and reboot your router if necessary.
- Test the Connection: From outside your local network (e.g., from your mobile device with Wi-Fi turned off), try connecting using your public IP address or dynamic DNS address and port 22 (or the custom port you configured). The command would be:
ssh username@your_public_ip_or_domain
Using Dynamic DNS: If your public IP address changes frequently (most home internet connections), you'll want to use a dynamic DNS (DDNS) service. Many DDNS services are free. You'll need to:
- Sign Up for a DDNS Service: Choose a DDNS provider (e.g., No-IP, DynDNS).
- Create a Hostname: Register a hostname (e.g., myiotdevice.example.com).
- Configure Your Router: Many routers have built-in DDNS clients. Configure your router with your DDNS account credentials. The router will automatically update the DDNS service whenever your public IP address changes.
- Connect: Use the DDNS hostname instead of your public IP address when connecting:
ssh username@myiotdevice.example.com
Reverse SSH Tunneling (for added security and flexibility): Reverse SSH tunneling provides a way to access your IoT device even if it's behind a firewall or a network where incoming connections are blocked. It also adds an extra layer of security as it avoids the need to open ports on your router.
- Set up a Server with a Public IP Address: You'll need a server that you control with a public IP address (this could be a cloud server like AWS EC2, Google Compute Engine, or a VPS).
- Connect to your device, set up the tunnel and keep connection alive: From your IoT device, initiate an SSH connection to your public server, setting up a reverse tunnel. Use the following command
ssh -R 2222:localhost:22 user@your_public_server_ipwhere:-R 2222:localhost:22: This forwards port 22 (SSH port) on your IoT device to port 2222 on your public server.user@your_public_server_ip: The username and the IP address of your public server.
Keep this connection alive! Consider using a tool like `autossh` or `tmux` on the IoT device to keep the connection persistent even if it drops.
- Connect to your IoT device through the public server: Now, from your Windows 10 machine (or any other computer with SSH access), you connect to the public server and access your IoT device, using
ssh -p 2222 user@your_public_server_ipwhere:-p 2222: specifies you want to connect to the server using port 2222.
Troubleshooting common issues:
- Connection Refused: This means that either the SSH server is not running on your IoT device, or the firewall is blocking the connection. Double-check these configurations.
- Authentication Failed: Make sure you are using the correct username and password or that your SSH keys are set up correctly.
- Network Issues: Ensure that your devices are connected to the internet and can reach each other (ping the IoT device to check connectivity) and that the local IP is not colliding with others.
- Port Forwarding Problems: Double-check your router settings and the external/internal ports and IP address for the IoT device.
As IoT continues to grow in popularity, so does the need for reliable remote management solutions. You dont need to pay for expensive services when you can set up IoT SSH for free. With IOT remote SSH connection free on windows 10, you can manage your servers, devices, and networks from anywhere in the world.

 devices? With a few simple steps, you can harness the power of free and )